Invite Members in Mighty Networks (2.2.0) From New Subscription in Stripe
Are you looking to enhance your community management and make the most of your Stripe subscriptions? By integrating Stripe and Mighty Networks using Zapier, you can automate the process of inviting new subscribers to your community. Here, we will guide you through setting up this simple automation, known as a Zap, using Zapier. By the end, you’ll be able to send out invites to Mighty Networks automatically whenever someone subscribes to your product on Stripe.
Connect Stripe and Zapier with Mighty Networks to Invite Members from New Subscription
This Zap is between two apps: Stripe and Mighty Networks. The reason for creating this Zap is that a person is buying a product in Stripe, and there is also a community for that product in Mighty Networks. We want to send that person the invite to join Mighty Networks and also allow him access to Mighty Networks.
So, let’s start learning how to create this integration process between Stripe and Mighty Networks using Zapier.
To do that, we need to create a Zap by clicking on the +Create button in Zapier. After this, we will choose Stripe as our trigger app and choose New Subscription as our trigger event, so when a person buys a subscription-type product, the Zap will start.
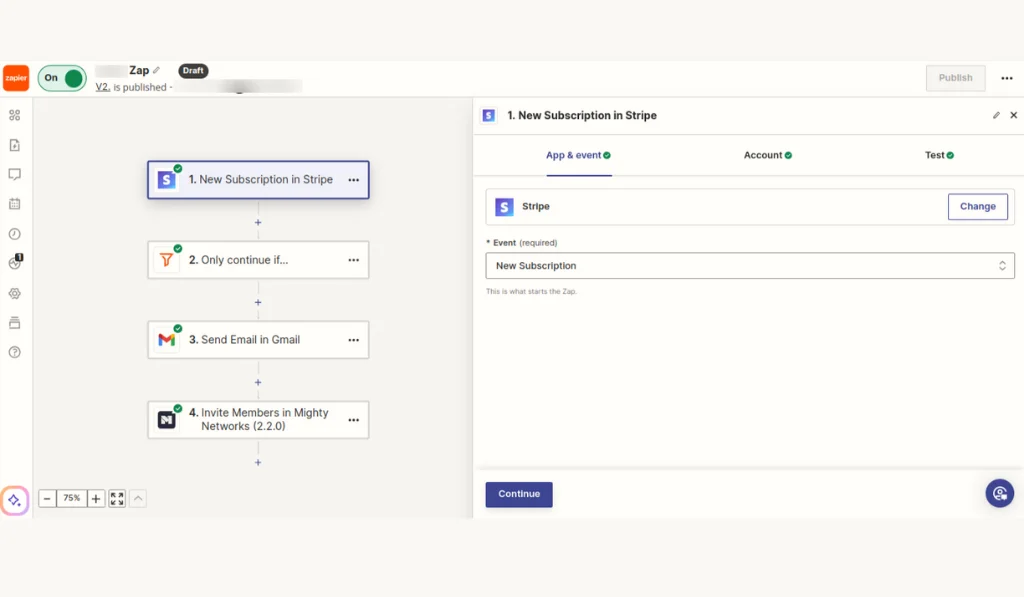
Now, we will connect our Stripe account with Zapier, in which we have the subscription product.
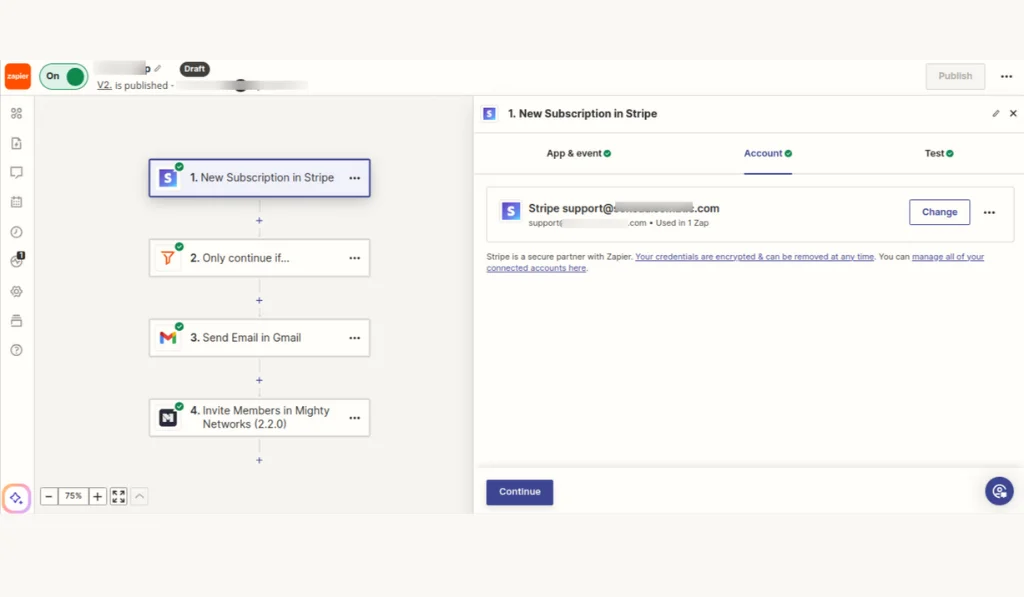
We will test the trigger to see if it is giving us the necessary recent subscription data along with the person’s information.
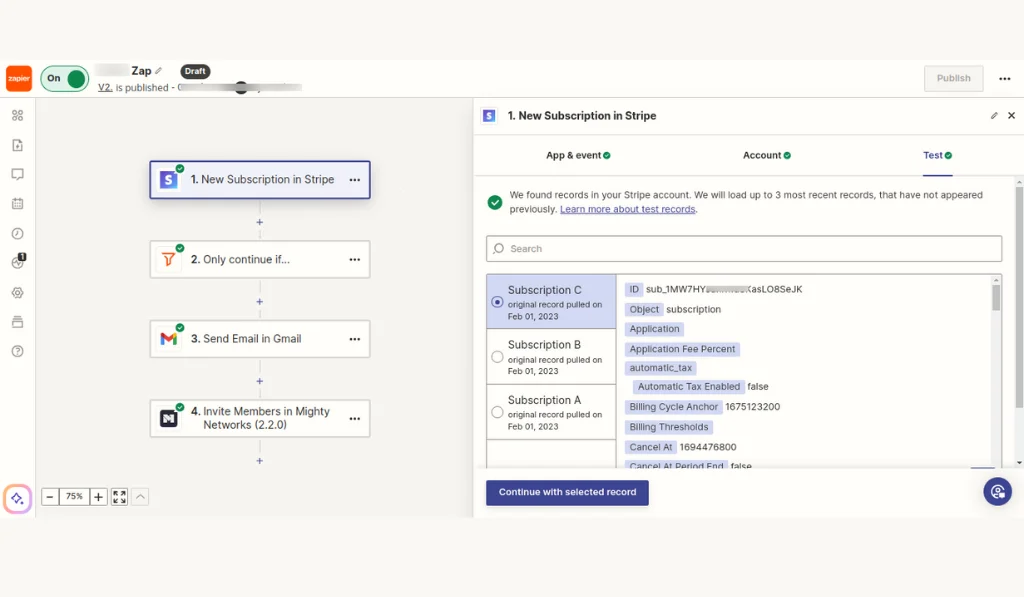
When this test is successful, we will then use a filter to find out if the product exists or not. Let’s see how
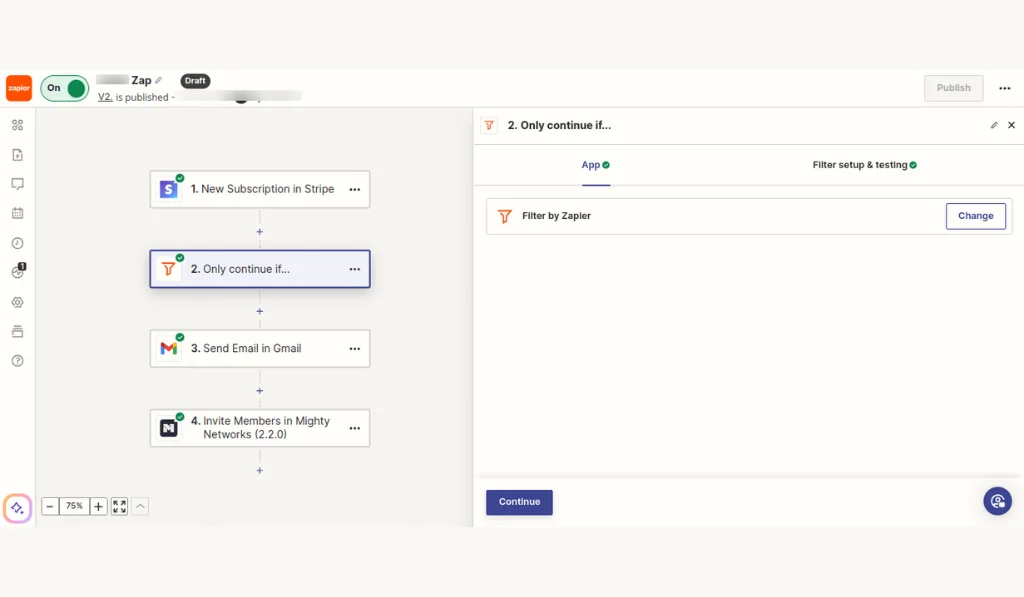
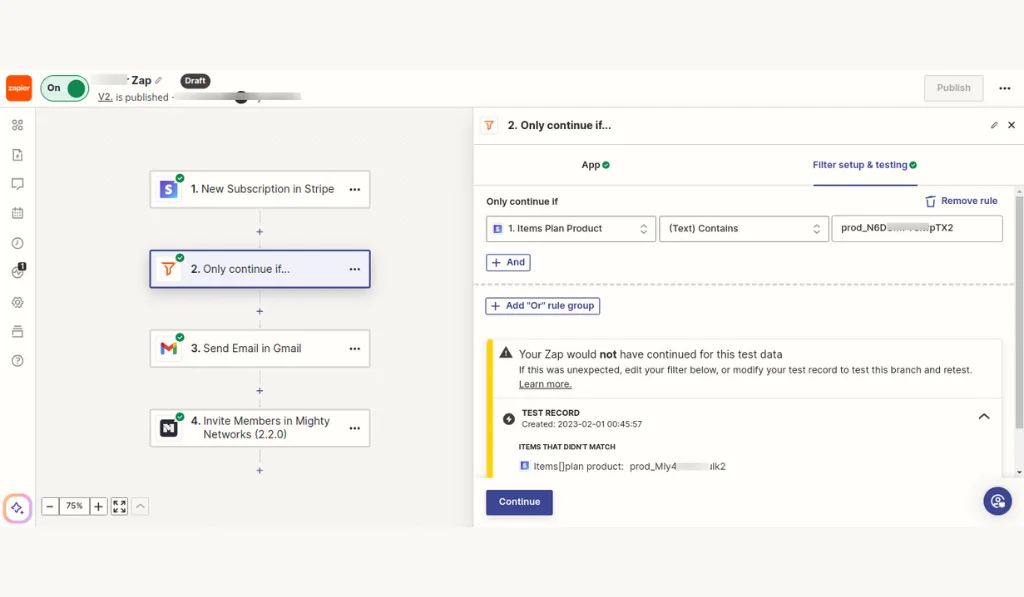
In the Filter setting & testing tab, define. Only continue if the item plan product contains the ID. Here, we will give the ID of the product we want to find.
If you are wondering where to get the ID from, here is a tip: In Stripe, open the added product, and in its URL, you will find its ID, or it will show you the ID with the product.
For the next step, we will send an email in Gmail to the person who just registered in Stripe. It’s like a welcome email for that person, but you can also adjust the email to suit your requirements. So, we will choose Gmail as our action app and choose Send Email as our action event.
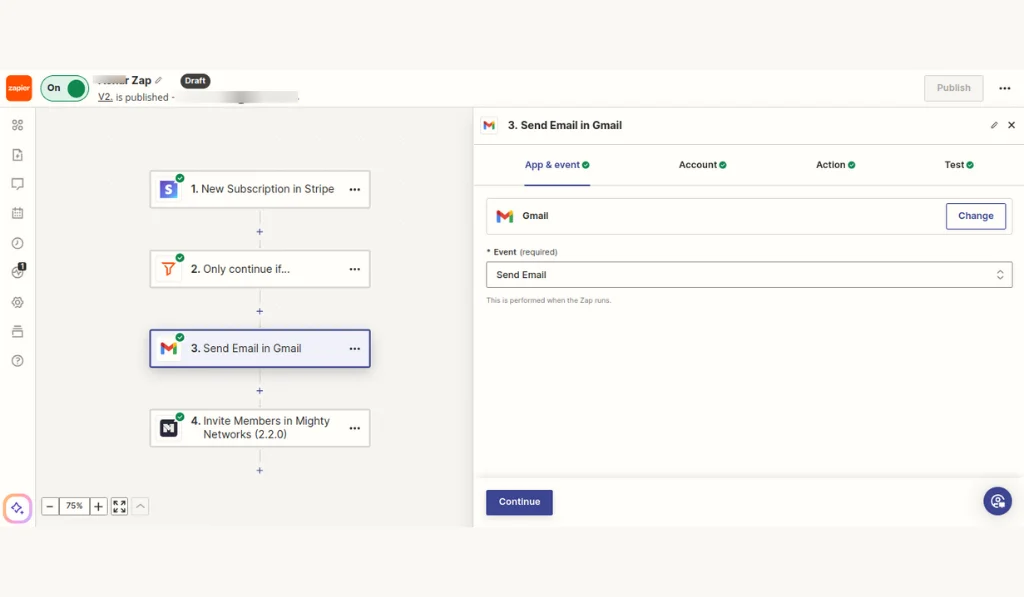
Then, we will connect our Gmail account with Zapier.
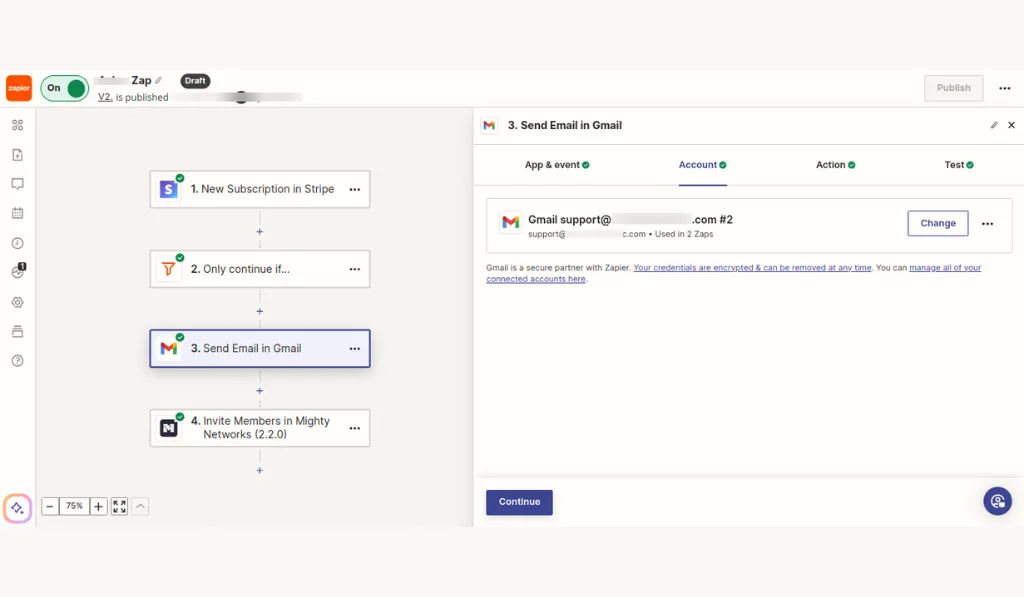
And it’s time to define the action fields for whom to send the email and by whom. Then, we will define the subject, and then we will define the HTML as the body type so that we can type the HTML code in the body field.
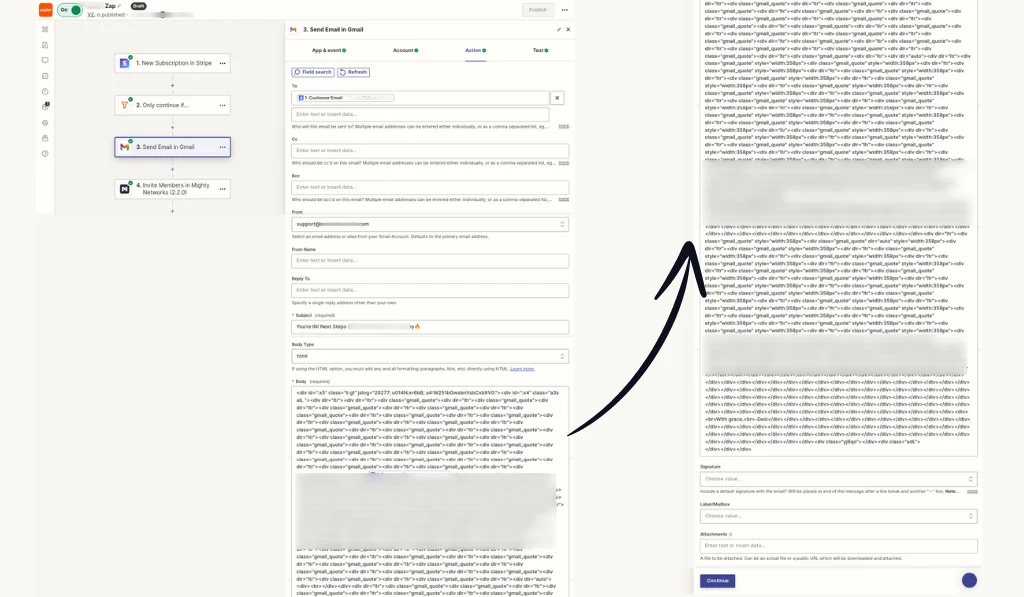
Click continue and test the action to see whether the email is sent to the person or not.
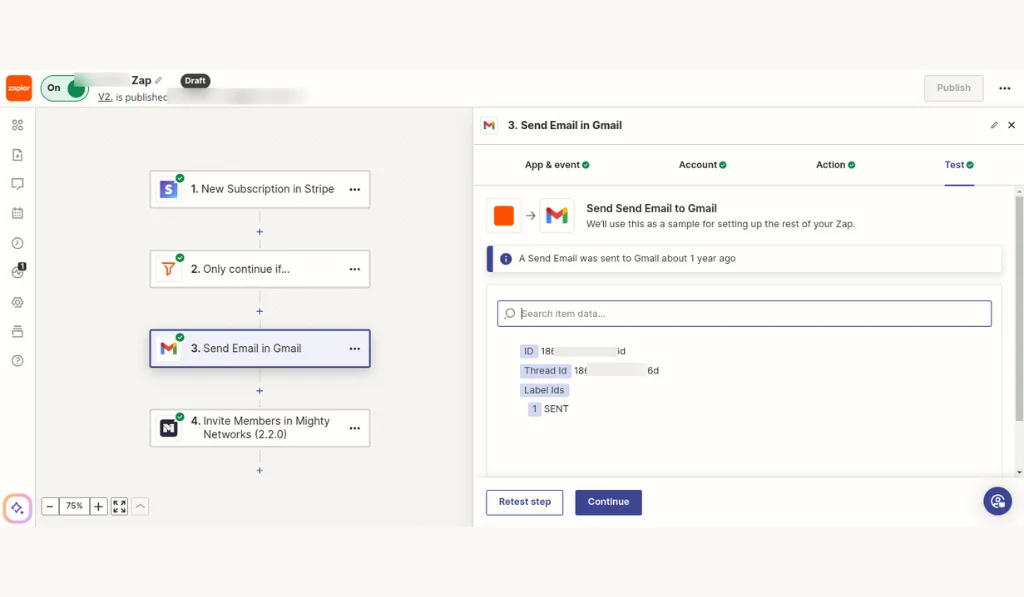
After the test is successful, we will email this same person to invite them to Mighty Networks. To do that, we will choose Mighty Networks as our action app and Invite members as our action event.
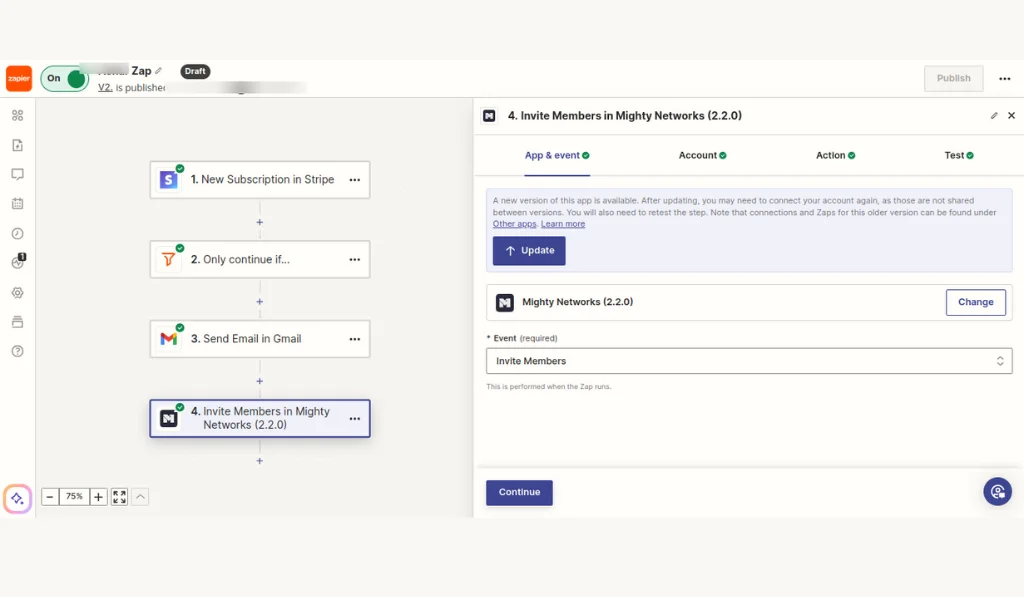
Then, we will connect our Mighty Networks account with Zapier and click on continue to move to the next step.
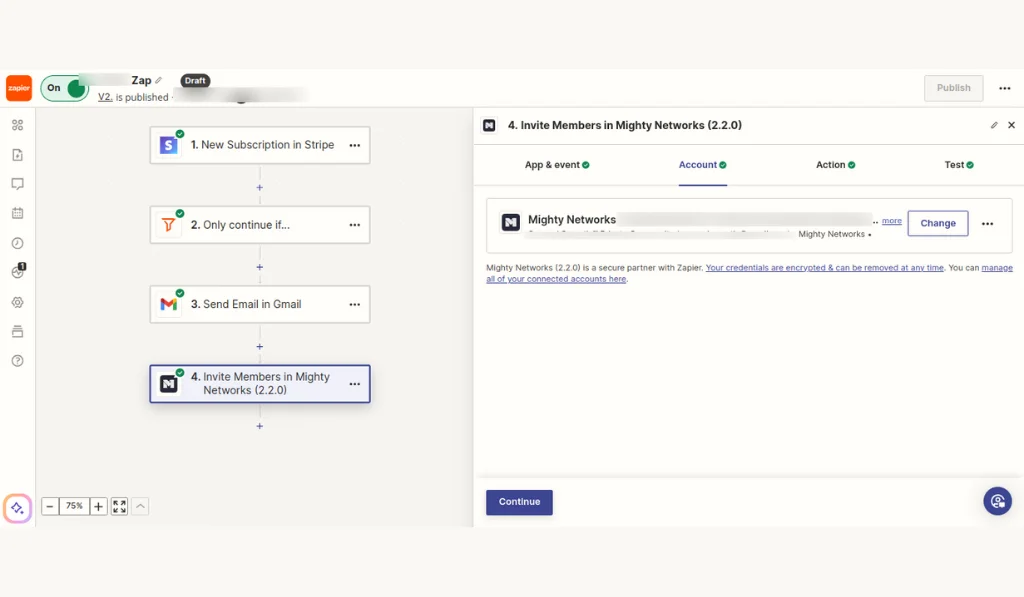
In this step, we will define what to include in our email and whom to send it to in the action tab.
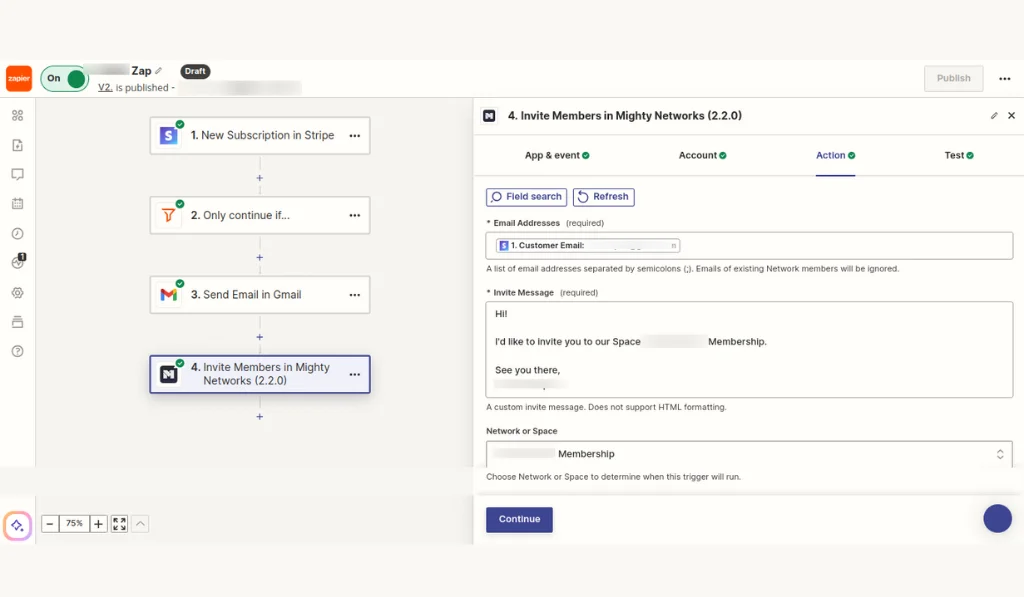
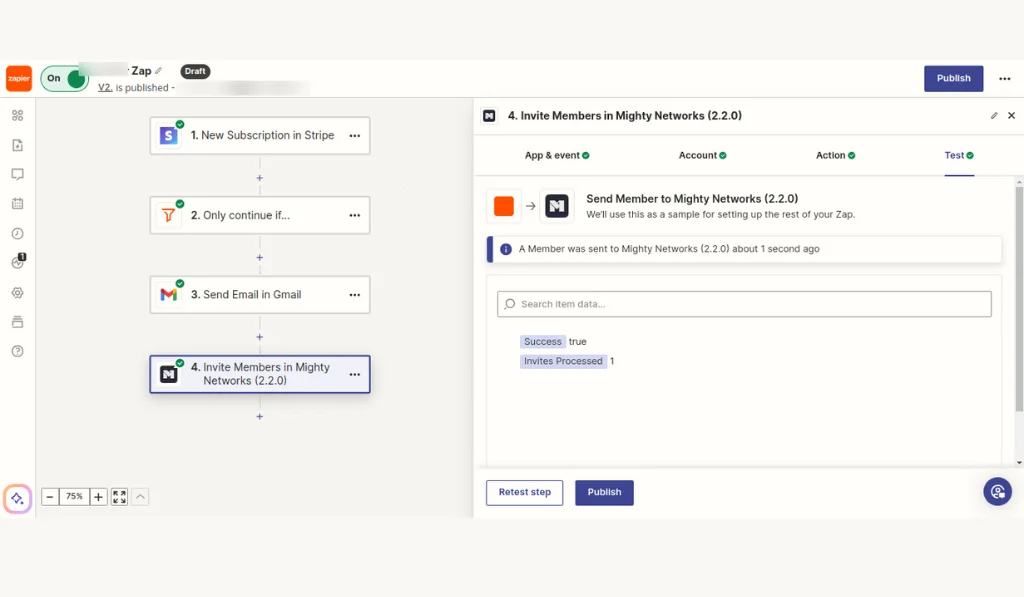
So, after defining the fields, we will test the Zap to ensure that the invite is successfully sent to that particular person and then publish the Zap.
Conclusion
You’ve now successfully set up a Zap that connects Stripe and Mighty Networks. Whenever a new subscription is created in Stripe, your customers will receive an invitation to join your community on Mighty Networks. It not only saves you time but also creates an amazing experience for your subscribers. With this automation in place, you can focus on growing your community and providing value to your members, knowing that the onboarding process is handled efficiently and effectively. Congratulations on simplifying your workflow!

