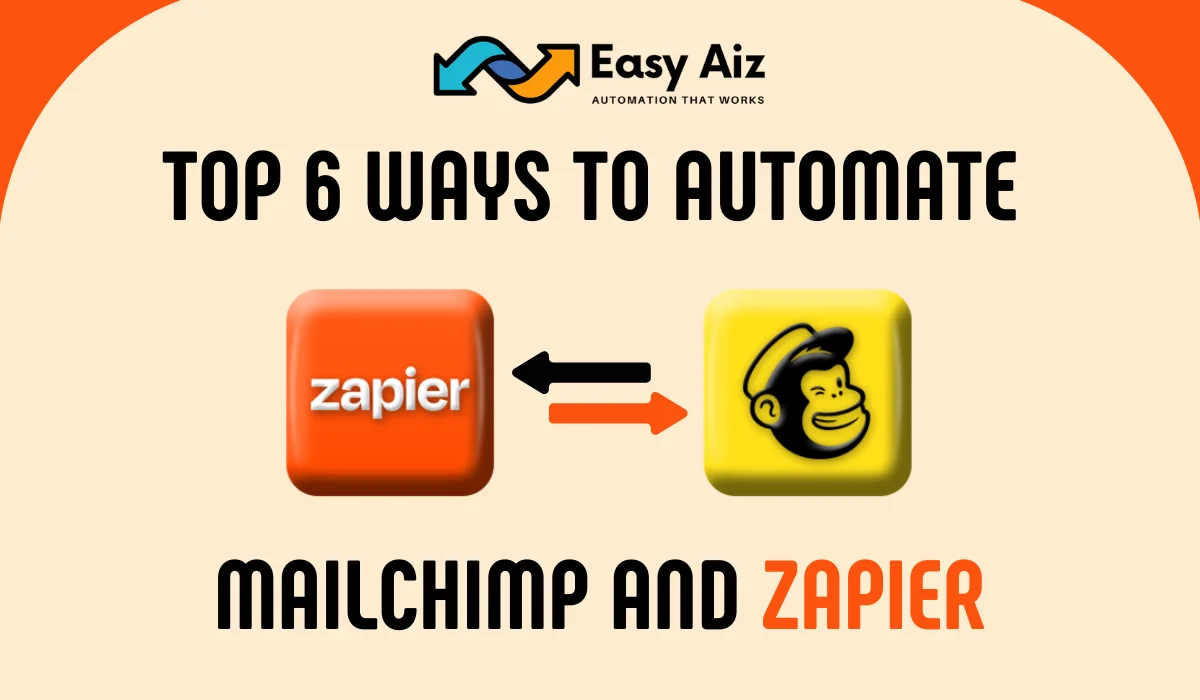
Top best 6 ways to Automate Mailchimp with Zapier To Boost Email Marketing
Email Marketing is a need of every business nowadays because it helps you to build customers who are interested in your products through engaging, marketing, and persuasive content but many business owners choose other ways of marketing because this type of email marketing needs a lot of effort and time. For email marketing, there is no better tool than Mailchimp with this app you can easily create email campaigns it doesn’t matter whether you are a newbie or a pro marketer, and when you connect Mailchimp with Zapier it makes email marketing easier and more effortless for you.
Zapier Mailchimp Integration helps you to automatically send subscribe new leads and connect Mailchimp with other 7000+ apps using Zapier. There are many ways to automate Mailchimp with Zapier but we choose the best ways for you which are described below.
1) Subscribe leads to Newsletter
When you see someone who is interested in your product or service take advantage of it because of this we will create a zap that simply saves our time of the copy and pasting information and also you can export CSV files automatically.
Check out the various zap examples below that effortlessly add new leads from emails to form submissions as subscribers in Mailchimp.
Example Integrations
- Mailchimp + Email Parser by Zapier (Parse email addresses from an email and add to a Mailchimp list)
- Mailchimp + Facebook Lead Ads (Subscribe new Facebook Lead Ad leads to a Mailchimp list)
- Mailchimp + Google Sheets (Add subscribers to Mailchimp for new Google Sheets rows)
2) Turn Your Campaigns into Content
Repurposing content is too effortful but it also works full strategy, for repurposing content you write perfect emails and this takes too much time. We have a solution to this problem you can repurpose it on your social media accounts and websites.
Create a Zap that automatically creates a new post on LinkedIn or WordPress site when you shoot a new campaign. You can add a delay step to this integration if you wish to maintain a sense of proprietary for your newsletter subscribers but for this step, you need to purchase a paid plan of Zapier after adding delay by zapier step your post will be shared after some time from the campaign sent.
Example Integrations
- Mailchimp + WordPress (Post new Mailchimp Campaigns on WordPress)
- Mailchimp + LinkedIn (Share new Mailchimp Caimpagins on your company LinkedIn profile)
- Mailchimp + Webflow (Create new Webflow items from new Mailchimp campaigns)
3) Surface Ads to New Subscribers
When someone subscribes to your newsletters it means he is already interested in your products or services, Now don’t be too late to Add them to your advertisement lists to show them Ads and gain quick sales through these Ads.
We are giving you some examples of zaps that can help you target those people who are already interested in your business and make sure that the right person is seeing your Ads.
Example Integrations
- Mailchimp + Google Ads (Add new Mailchimp Subscribers to Google Ads to customer lists)
- Mailchimp + LinkedIn (Add new Mailchimp Subscribers to a segment on LinkedIn Matched Audiences)
- Mailchimp + Facebook Custom Audiences (Add new Mailchimp subscribers to Facebook Custom Audiences )
4) Keep paying Customers coming back
As an owner of the online shop, you need to build loyal customers for loyal customers, you have to provide the best quality to them but as humans, they need something that reminds them about your products, and email marketing is the best option to keep customers coming back for more from your shop.
Make an automatic workflow using Zapier to make sure that your clients are receiving emails about your shop product updates, special discounts, and sales for this add loyal customers to the right email list.
Example Integrations
- Mailchimp + Stripe (Add new Stripe customers to Mailchimp lists)
- Mailchimp + Shopify (Add new Shopify customers to Mailchimp)
- Mailchimp + WooCommerce (Add new WooCommerce customers to Mailchimp as Subscribers)
5) Keep your CRM updated with new subscribers
Nowadays CRM (Customer Relationship Manager) is the backbone of business. Updating CRM with every single task is very difficult and we know that every single task, even small tasks has its own priority. And when there are a lot of changes coming it will be more difficult to manage and update them.
Waiting to download and import subscribers and Data into CRM is irritating. Make a Zap and automatically Update your contact information when a new subscriber is on Mailchimp.
Example Integrations
- Mailchimp + HubSpot (Create or update HubSpot CRM contact for new subscribers on Mailchimp)
- Mailchimp + ClickFunnels (Add or update Mailchimp subscribers from new activity on ClickFunnels Classic contacts )
- Mailchimp + Pipedrive (Add new Pipedrive people to Mailchimp as Subscribers)
6) Engage Event Attendees with your Newsletter
When we hear the name of events also it means a lot of costs but events are a great way to engage new and existing customers. With high costs webinars and events also need more labor to manage them.
After the webinar ends you can engage and send updates to your attendees with newsletters. Use a Zap that automatically adds attendees to your email list. So don’t worry about managing emails do your other important tasks and make a successful event without any tension.
Example Integrations
- Eventbrite + Mailchimp (Add new Eventbrite attendees to a Mailchimp list)
- Mailchimp + Zoom (Add new Zoom registrants to Mailchimp)
- Mailchimp + Calendly (Create Mailchimp subscribers from new)
Summary
Explore the top Six ways to Automate Mailchimp with Zapier and give a boost to your email marketing whether it is subscriber leads to newsletters, Turning your campaign into content, Surface Ads to New Subscribers, Keeping paying Customers coming back, Keeping your CRM updated with new subscribers or Engage Event Attendees with your Newsletter make all these thing easy using Zapier Automation with Mailchimp.