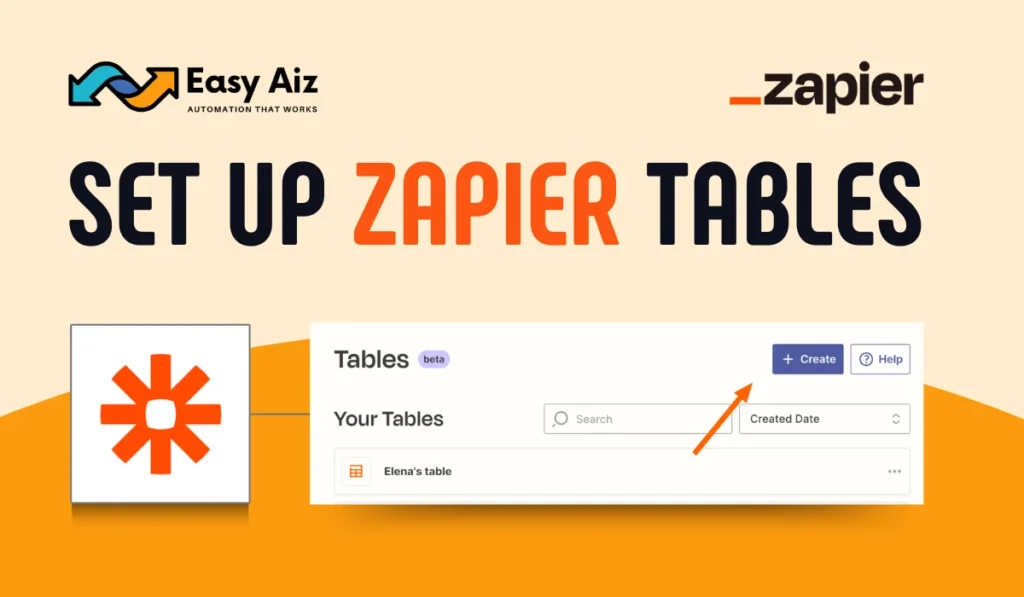
You are currently viewing Zapier Tables: Import, Store and Edit Your Data

Zapier Tables

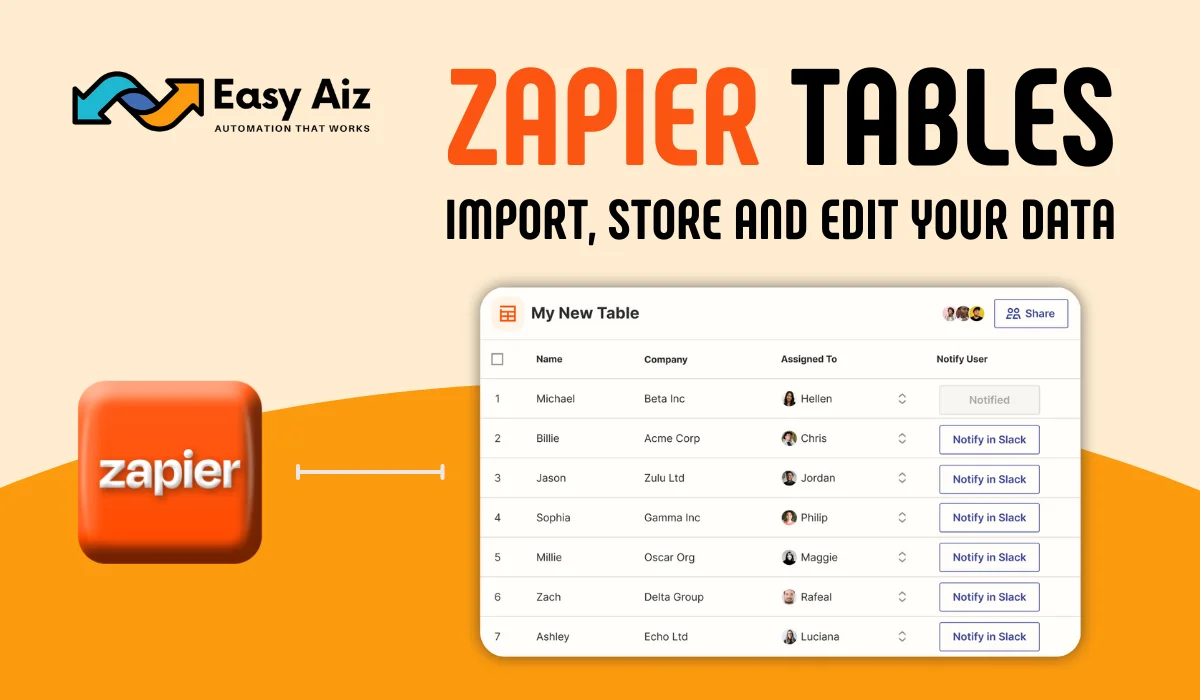
Managing your data is essential for success. With Zapier Tables, you can effortlessly import, store, edit, and automate your business data all in one place. Setting up your database is a breeze, whether you’re starting from scratch or importing existing data. Plus, with seamless integration across over 6,000 apps, you can easily connect your data and automate processes. From lead generation to approval workflows, Zapier Tables empowers you to streamline operations and take control of your data like never before.

What are Zapier tables?

Zapier Tables is a tool for managing data without knowing how to code. With it, you can store, edit, share, and automate all data.

One cool thing about Zapier Tables is that you can create Zaps directly from any table. Zaps are automated workflows that help you move your data quickly and accurately so you can keep up with business changes.

What sets Zapier Tables apart from other tools is its focus on automation. You can easily create Zaps from your tables and see them in action. Plus, any actions you perform in Tables won’t count towards your Zapier task limit, so you can automate more without worrying about hitting any limits.

Zapier Tables also keep your workflows and data secure by letting you control who can access them. You can set permission levels for your team and get warnings if you’re about to make changes that might affect other Zaps.

And if you’re looking to streamline your processes further, Tables offers more automation options like approval buttons and re-triggering Zaps on existing records. You can even create custom web apps using Tables and Zapier Interfaces without writing any code.

When should you use Zapier Tables? 

Well, it’s not about replacing your current spreadsheet or database apps but rather using the right tool for the job to move your business forward.

Here are some signs that Zapier Tables might be a good fit for you:

Human approval needed

If you have processes requiring human approval, like signing off on proposals or expenses, Zapier Tables lets you build approval steps into your automated workflows.

Heavy reliance on automation

If your workflow relies heavily on automation, Tables has a bunch of automation options like starting Zaps with a button click, watching for specific changes in your data, and deleting unnecessary records automatically.

Dynamic lookup tables

Business isn’t static, nor should your information be. With Tables, you can create dynamic lookup tables for the latest projects, clients, or any other info you need for important automated tasks.

Consolidating data from various tools

If you need to combine information from different apps into one place to use in your workflows, Tables make it easy to store all that info in one spot.

Updating data-heavy content dynamically

If you want to keep your data backstage but still dynamically update content within Zapier Interfaces, Tables paired with Interfaces’ components can turn your data into an interactive web app, giving you endless automation possibilities.

So, if any of these tasks sound like ones you need to accomplish, Zapier Tables might be the tool you’ve been looking for.

Triggers and actions of Zapier Tables

Zapier Tables streamlines business tasks without replacing existing apps. It’s perfect for tasks needing human approval, heavy automation, dynamic data, data consolidation, and updating content. Tables integrate approval steps, offer automation options, create lookup tables, consolidate data, and pair with Zapier Interfaces for interactive web apps. If these tasks align with your needs, Zapier Tables can boost efficiency.

Triggers:

  • Trigger Zap Button Clicked: Add buttons within a table to initiate Zaps or re-trigger workflows on existing records. This is ideal for actions like sending emails or updating records forcibly.
  • New or Updated Record: Start Zaps based on new or updated records within a specified table. Tables show past and current data within a field value during trigger testing, eliminating the need for workarounds to detect changes in a record’s contents.
  • New Record: Watch for new records, specifically within a table, preventing Zaps from running accidentally on updated records.
  • Updated Record: Initiate a Zap upon the update of a record within Tables. You can choose the specific updated field that triggers the Zap.

Actions:

  • Create Table: Generate a new empty table, allowing you to name it based on your trigger or a previous action.
  • Create Record: Add a new entry to a specified table, either populating fields with data from previous Zap steps or inputting static text.
  • Increment Value: Increase the value of an existing number field by a fixed amount, which is helpful for tasks like numbering invoices or creating SKUs.
  • Duplicate Table: Copy a current table along with its fields and settings, eliminating the need to recreate it from scratch, which is handy for recurring processes or templates.
  • Update Record: When paired with a search step, update existing table records with the latest information from other apps.
  • Continue Zap Button Clicked: Pause a Zap until a specific action (like clicking a button) is performed, useful for tasks like batching calendar invites.
  • Update Trigger Button: Enable or disable buttons that trigger Zaps in your table, and customize button labels to manage processes like filing expense reports at specific intervals.
  • Delete Record: Remove a record from your table, helping to maintain a clean dataset and being particularly useful for clearing out records associated with completed projects.

Searches:

  • Find or Create Record: Search for an existing record containing specific information in a designated field. If no matching record is found, you can create a new one.
  • Find Records (output as Line Items): Search for all records that meet your specified criteria. Zapier will present the results as line items, which can be utilized for actions supporting line items or iterating through a series of actions for each record.

Set up Zapier Tables:

  1. Create a Table and Add Data: After logging into your Zapier account, access Zapier Tables from the menu or visit tables.zapier.com. Click “+ Create” and choose to create a table from an existing file or start with a blank table. If importing data, upload your file and preview how it looks. You can customize field settings like name, type, and alignment.
  2. Create and Connect Zaps to Your Table: With your table set up, create Zaps to automate tasks using the data. You can trigger Zaps based on events like new records or updates in your table and perform actions like making records, updating data, or sending notifications.
  3. Create an Interface and Connect It to Your Table: Create interfaces to interact with your data visually for more advanced usage. Pairing Tables with Zapier Interfaces allows you to build custom web apps powered by your data and automation, providing additional automation possibilities and making your data more actionable.

By Connecting Zapier Tables to your key Zaps will open limitless automation opportunities and ensure your data works efficiently for your business needs.

Creating a Dropdown Field:

  • Select Dropdown Field Type: Choose Dropdown as the field type when creating a new field.
  • Choose Selection Source: Decide whether to provide a static list of values or use data from another table or field.
  • Static List: Enter comma-separated values for a fixed dropdown menu.
  • Another Table or Field: Utilize data from another table or field for a dynamic dropdown.
  • Select Source Table: If using another table, select the source table and the specific field to display in the dropdown.
  • Save and Preview: After setting up, save the field settings to see the newly created dropdown field.

Creating Buttons:

  • Choose Button Field Type: Select Button as the field type for clickable buttons.
  • Select Button Type: Decide if the button triggers or continues a Zap.
  • Label the Button: Provide a short, descriptive label for the button.
  • Secondary Button (Optional): Using the “Continue Zap” option, you can create a secondary button for additional actions.
  • Save and Connect: Save the field settings; the button will be ready to connect to a Zap.

Creating an AI Field:

  • Select AI Field Type: When creating a new field, available on Tables Premium plans, choose the AI field type.
  • Connect OpenAI Account: Choose the OpenAI account connection you’d like to use or connect your account if you still need to.
  • Create Prompt: You can generate a prompt from scratch or start with a template, referencing existing table data if required.
  • Adjust Prompt Settings: To customize the AI generation process, you can tweak settings like creativity level, model selection, and response length.
  • Preview and Refine: Review AI-generated responses for each record in your table, adjusting the prompt or settings as needed.
  • Save and Activate: Once satisfied with the field setup, save the configuration to start populating records automatically according to your instructions.

Filtering Data in Views:

  • Create a View: Click the View icon and select “Create View” from the left-hand menu to generate a new view.
  • Name and Describe: Give your view a name and description, then create it.
  • Add Filters: Click “Filter” at the top of your table and then “Add filter” to specify criteria for data filtering.
  • Set Filter Conditions: Select the field to filter, the condition, and the data values to filter for, adjusting as needed.
  • Preview Results: As you add filters, observe how your table data is filtered to ensure it meets your requirements.
  • Combine Filters: Utilize multiple filters to refine your data further, with filters using AND logic.
  • Hide Fields (Optional): Additionally, hide specific fields in the view to tailor the displayed information.

Customizing Table Settings:

  • Access Settings: Navigate to the left sidebar Tables menu and click “Settings” to open the Table Settings pane.
  • Pending Option: By default, manually-created records are set to “Pending.” This option is useful when waiting until a record is filled or verified before triggering connected Zaps. Pending records are marked with a pending flag.
  • Automatically Option: Alternatively, you can set new manually-created records to start connected Zaps automatically. This option is handy when you have Zaps that fill out complete records, eliminating the need for delay or manual review.
  • Save Changes: After adjusting the settings according to your preferences, click “Save” to apply the changes.

Creating and Connecting Zaps to Your Table:

  • Creating a Zap: You can create a Zap with Tables using the same process as for any other automated workflow in Zapier. Use the point-and-click editor to create a new Zap from scratch or within a table.
  • Two Methods: There are two ways to start and connect Zaps within Tables:
  • From a Specific Field: Create a Zap directly from a specific field within a table.
  • From Within a Table: Alternatively, create a Zap directly from within a table interface.

Creating a Zap from a Field:

  • From Field Header: Click on the header of the field you want to create a Zap from, then choose “+ Create Zap” from the menu that appears.
  • From Field Settings: Alternatively, you can access the field settings pane by clicking “Edit Field,” then go to the “Zaps” tab and select “+ Create.”

Creating a Zap from a Table:

  • From Sidebar Menu: Navigate to the left sidebar menu, click the Connections icon, then select “+ Create.”
  • Select Zap Type: Choose the type of Zap you want to create, such as triggering from new or updated records, bringing data in from another app, sending data out from your table, enriching or updating your data, or starting from scratch.
  • Access Zap Editor: Once you’ve chosen the type of automation, you’ll be directed to the Zap editor. Depending on your selection, the table and trigger or action will be pre-selected.
  • Building Your Zap: In the Zap editor, you can create, test, and finalize your Zap to ensure it’s ready to use.

Finding Connected Zaps in a Table:

  • View Connected Zaps: Click on the Connections icon within a table to access the Connected Zaps pane, which displays all Zaps linked to the table and their current status.
  • Check Field Connections: To see if any Zaps interact with a specific field, click on the field header and select “View Connected Zaps” from the menu. It will show every Zap connected to that field.
  • Review Zap Details: In the Connected Zaps pane, you can edit, view runs, or get more information about a connected Zap by clicking on the arrow icon next to it. It will take you to the Zap editor, where you can review the workflow in detail. 

Additionally, Zapier Tables will alert you if any changes you make to a table will affect connected Zaps, ensuring you’re aware of any potential impacts before making modifications.

Creating a Zap from a Field:

  • Click on a field header.
  • Select “+ Create Zap” from the menu.
  • Alternatively, go to the Field Settings pane.
  • Click “Edit Field,” then go to the Zaps tab.
  • Select “+ Create.”
  • The Zap editor will open with a pre-filled trigger or action based on the field type.

Creating a Zap from a Table:

  • Click the Connections icon.
  • Then click “+ Create.”
  • Choose the type of Zap you want to create.
  • Select data input or output options.
  • Proceed to the Zap editor to build and test your Zap.

Finding Connected Zaps:

  • Click on the Connections icon within a table.
  • View all Zaps linked to the table, along with their status.
  • For specific field connections, click a field header, then select “View Connected Zaps.”
  • Review, edit, or troubleshoot Zaps directly from the Connected Zaps pane.

Dynamic Lookup Tables:

  • Setup: Create a table with identifiable fields for lookup purposes.
  • Dropdown Integration: Create a dropdown field in another table and set its source to the lookup table.
  • Zap Integration: Use Zaps to manage options in your lookup table and search for related information.
  • Data Comparison: Utilize a table to compare data from different apps.

Memory Bank for Zaps:

Functionality: Tables act as a “memory bank” for Zaps, allowing:

  • Information transfer between Zaps.
  • Preservation of data for later Zap steps.
  • Creation of round-style workflows for Zaps.

Example: Store assignment details, Google Doc links, and related record IDs for blog articles. It facilitates automatic updates to to-do lists, the addition of notes to Google Docs, and sending draft links to editors.

Zapier Tables Pricing

Easy Aiz - Automation That Works

See how EasyAiz Automates your Business!

Get Quality Services for growing your business, 700+ companies have worked with us and saved thousands of hours and your company could be the next.

Schedule a Free Consultation planning with Certified Zapier Experts that suits your business. 

Book A Free Call

Conclusion

In conclusion, Zapier Tables offers a flexible solution for managing data and automating workflows without the need for complex spreadsheet hacks. With features like dynamic lookup tables and Zap memory banks, users can streamline processes, compare data across apps, and ensure smooth automation. By simplifying tasks such as creating dropdown menus and integrating Zaps, Zapier Tables empowers users to focus on strategic work while keeping up with the ever-changing pace of business.

Syed Fahad Hussain

I'm Fahad, the wordsmith at EasyAiz. I turn content into magic for people and businesses, creating captivating messages that connect with audiences. Outside of work, I enjoy anime, basketball, and music. I bring enchantment to both my work and life at EasyAiz.