Create Record in Airtable from New Spreadsheet Row in Google Sheets
Are you tired of manually transferring data from Google Sheets to Airtable? With Zapier, you can do your mundane and copy-and-paste tasks by creating a Zap. In just a few simple steps, you’ll learn how to set up a Zap that automatically creates a new record in Airtable whenever a new row is added to your Google Sheets spreadsheet.
Follow the integration process we are going to tell you, from selecting trigger events to mapping fields and testing your Zap to make sure your process works well. By the end of this article, you’ll have a fully functional Zap ready to revolutionize your workflow, which saves you time and effort with every new spreadsheet entry.
So, let’s connect Zapier and Airtable to create an amazing automation process with Google Sheets. It’s time to increase your productivity and take your automation game to the next level.
Connect Airtable and Zapier to Create New Records from New spreadsheet rows in Google Sheet
It’s time to create a Zap that can create a record in Airtable whenever a new spreadsheet row is created in Google Sheets, so click on the +Create button to create a Zap.
Choose Google Sheet as your trigger app and choose New Spreadsheet Row as your trigger event.
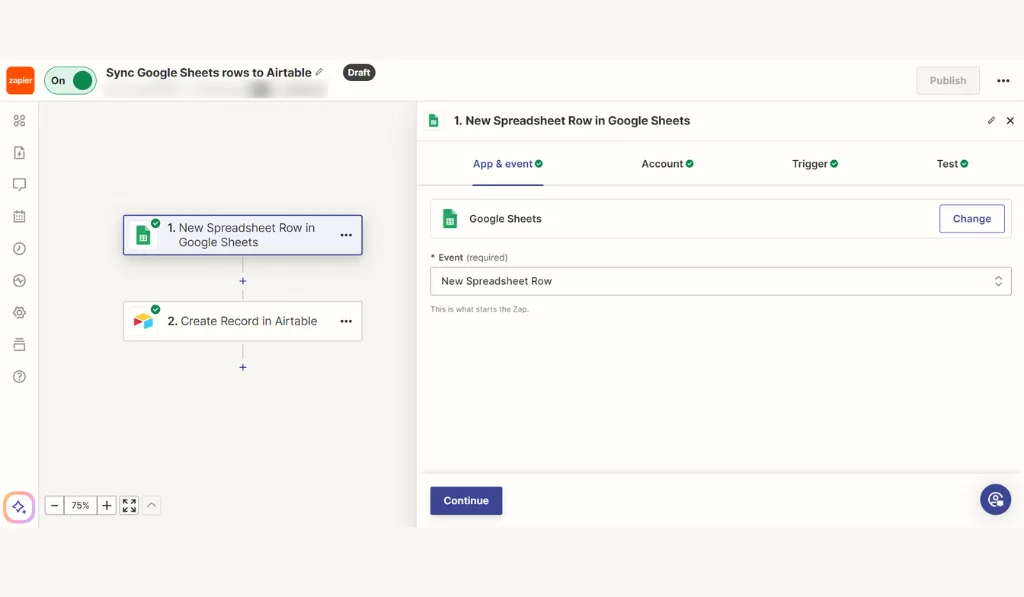
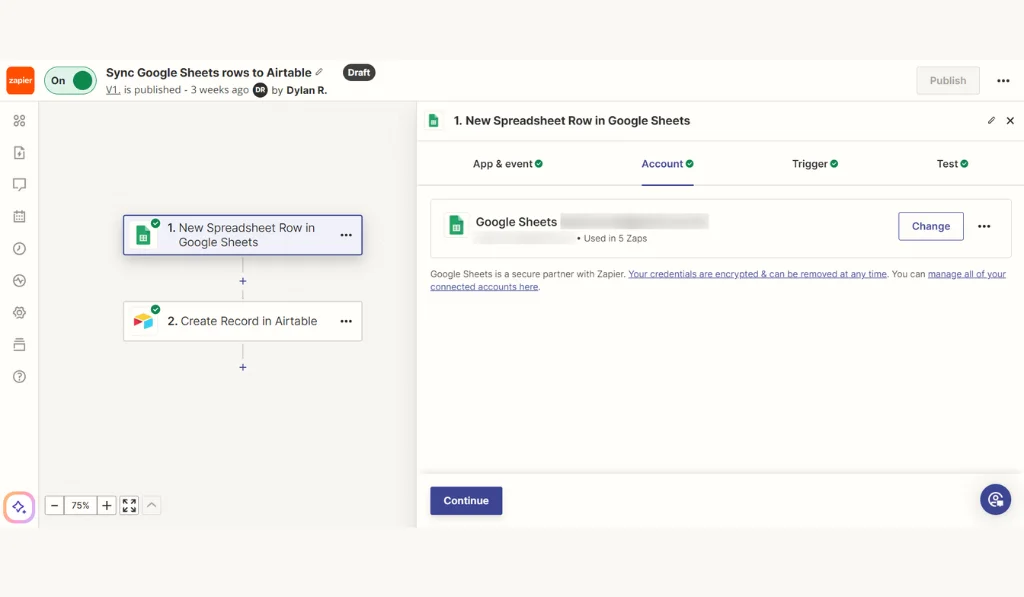
After this, go to the next step and connect your Google Sheet account to Zapier. When the account is successfully connected, click on continue to specify the trigger.
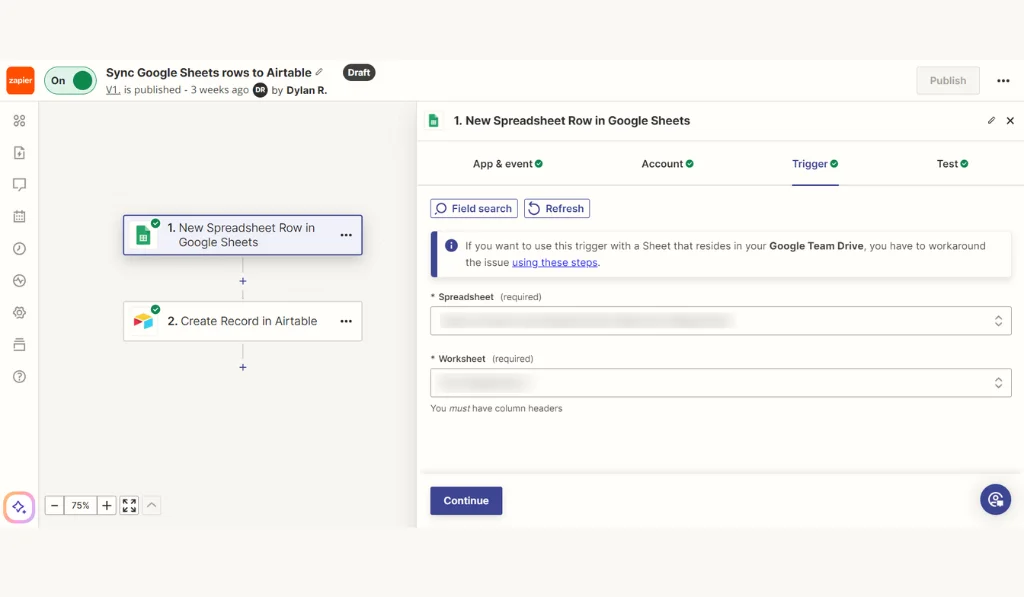
Here, it would help if you chose the Spreadsheet and Worksheet from which you want your data to be sent to Airtable.
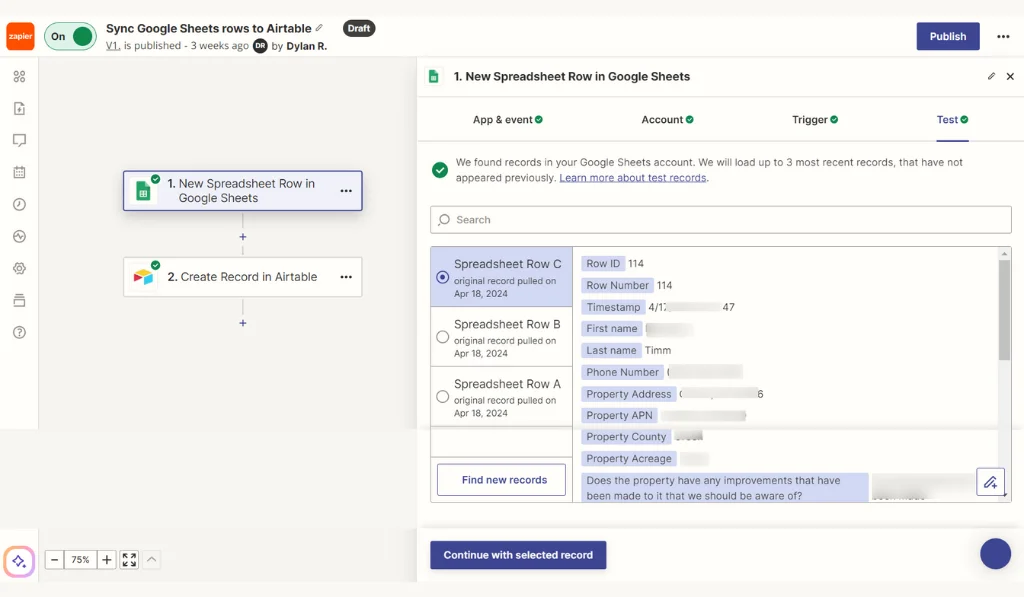
It’s time to test the trigger and see if it successfully gets the latest data from the spreadsheet. If it is, then click on the Continue with selected record button to Choose action.
We will Choose Airtable as our action app and choose Create Record as our action event.
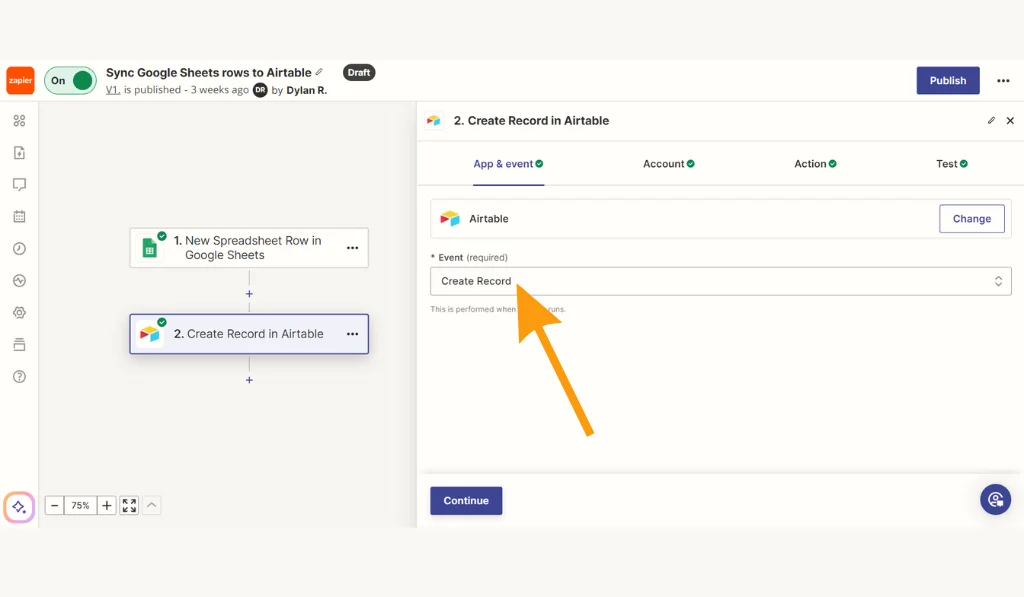
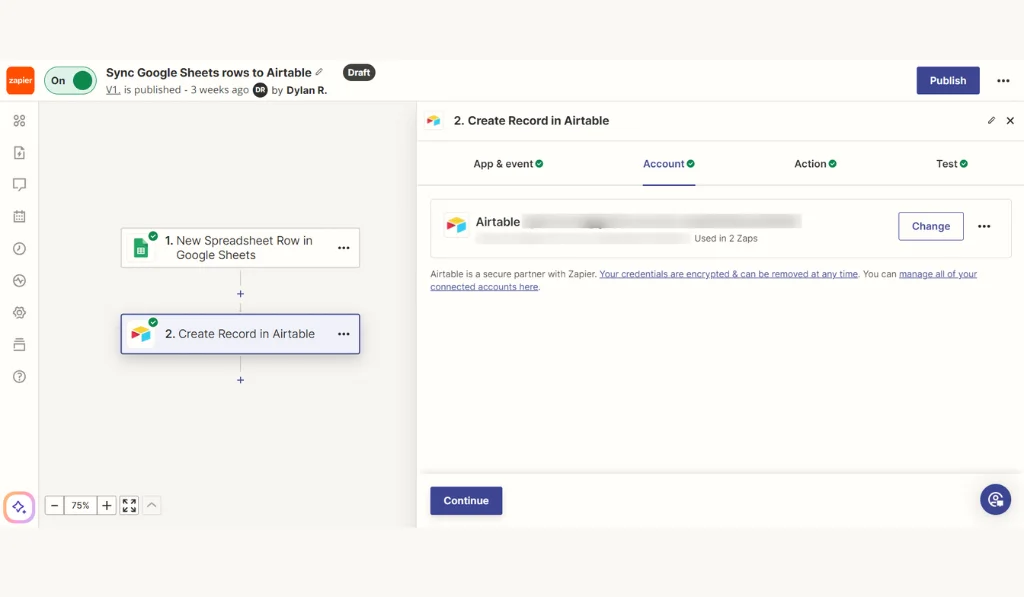
Connect your Airtable account to Zapier now, and click on the continue button to select the necessary fields of action.
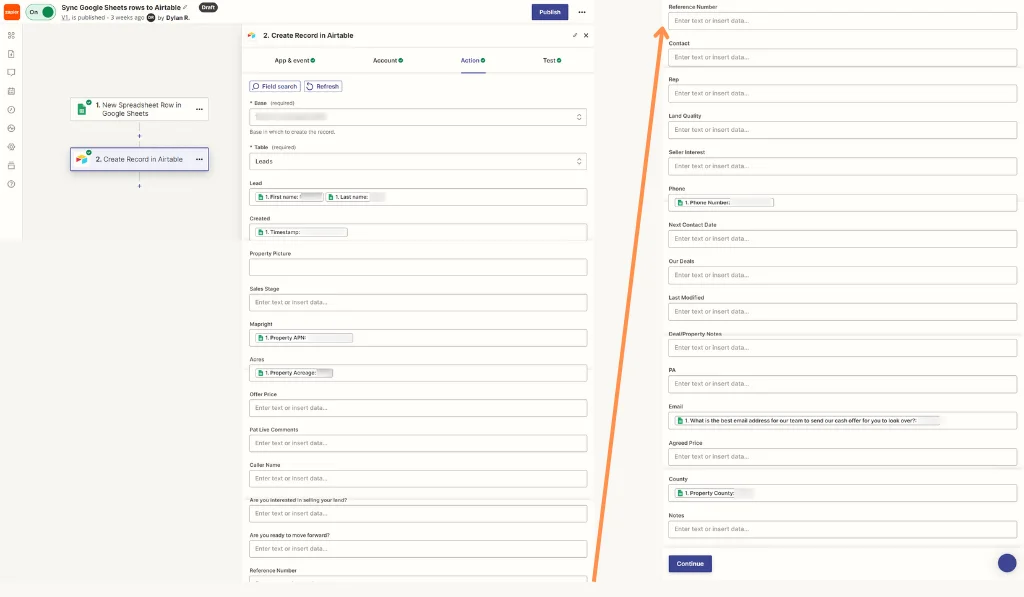
In it, give the workspace name in the Base field and the table name in the Table field of Airtable and map the necessary fields you require, such as name, phone number, email, and more.
Now test your Zap to verify that it is successfully creating the record in the Airtable from the new spreadsheet row in Google Sheets.
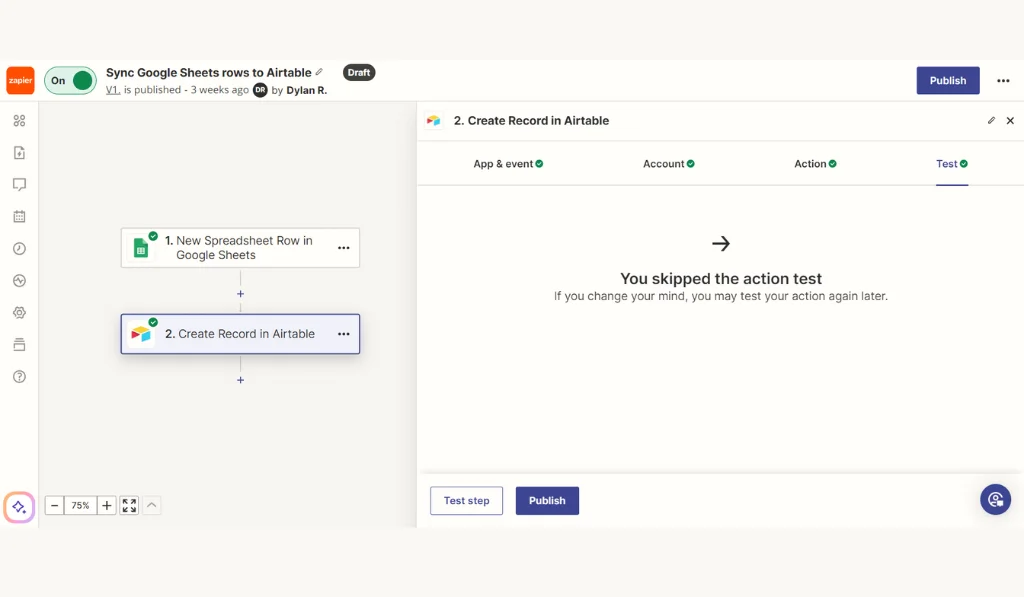
When the testing is successfully done, publish your Zap, and your Zap will be ready here.
Conclusion
In just a few simple steps, you can connect Zapier and Airtable to your Google Sheets to end the manual data transfers and save valuable time and effort with every new spreadsheet entry.
With your fully functional Zap in place, new records will easily populate in Airtable whenever a new row is added to your Google Sheets spreadsheet. No more mundane copy-and-paste tasks – just smooth, automated efficiency at your fingertips.
So, whether you’re managing projects, tracking leads, or organizing data, this integration can help you increase your productivity. Please do it now and connect Zapier and Airtable to create an amazing automation process with Google Sheets.

